


Piñatas are a fun part of Mexico’s celebrations! Read on to find out more about this cool party favor with a long history!
Historians believe that the piñata originated in China.

Marco Polo brought the idea back to Italy in the 14th century.
During his explorations of China and the Far East, he saw villagers gather for their New Years celebrations with figures of cattle and ox made of paper. The figures were decorated with colors and symbols thought to bring good fortune.
The people took turns whacking the figure until it broke open, spilling seeds from the figure. Then the figure was burned to ashes. Everyone from the village gathered some of the ashes to sprinkle on their fields.
This was considered good luck. Basically, it was an offering to promote a good crop during the upcoming year.
The concept took hold in Italy. There people began to associate it with the season of Lent. The first Sunday of Lent became a celebration called the “Dance of the Piñata.”
Piñata Pots

In fact, the word piñata is thought to have come from the Italian word pignatta, which translates to “clay cooking pot.”
The plain clay pots eventually got “dressed up” with colored paper, tinsel, and ribbons.
By the 16th century, the tradition of celebrations with a piñata made its way to Spain and the conquistadors brought it to the Americas.
Or they thought they did…
Aztec and Mayan Piñatas
It turns out the Aztec people had a similar tradition. The Aztecs filled a decorated clay pot with treasures and goodies, like guava, oranges, and sugar cane pieces. Then they hung it above a figure of their god of war — Huitzilopochtli.
Their tradition of breaking the clay pot was pretty similar to the Spaniard’s. When the pot was broken and the goodies fell out, it was an offering.
The Mayan people had a celebration where they used something like a piñata, as well. They added a bit of challenge to breaking the pot open. Mayans blindfolded the person who was taking a whack at the piñata.

That’s a tradition which is still practiced with busting open a piñata today, especially at Christmas and birthday parties. Have you ever had a piñata party?
In Mexico, families get together at events called posadas where they celebrate the Christmas story with piñatas.
Piñata Art
Piñata designs have come a long way from the early clay pots.

Now they’re made with cardboard or paper mâché, but you can still find some artisans in Mexico who make piñatas with clay centers. Modern piñatas come in all kinds of shapes and sizes.
Mexican piñateros, or piñata-makers, pride themselves on creating beautiful and intricate designs. With the invention of tissue paper, piñatas became the frilly creations we know today.

The most recognizable are the donkey or the seven-pointed stars, but there are lots made into flowers and cartoon characters… Piñatas can be made into anything you can imagine!

People in Mexico have taken the creation of piñatas to a whole new level. They’re an art form now.
In 2007 they had their first annual contest to see who could make the best piñata. As the art form grew, one artist even built a full-size piñata car!
You can make your own cardboard treat container, or for a little piñata magic in the kitchen, try your hand at a sweet treat with a surprise inside: Piñata Cookies!
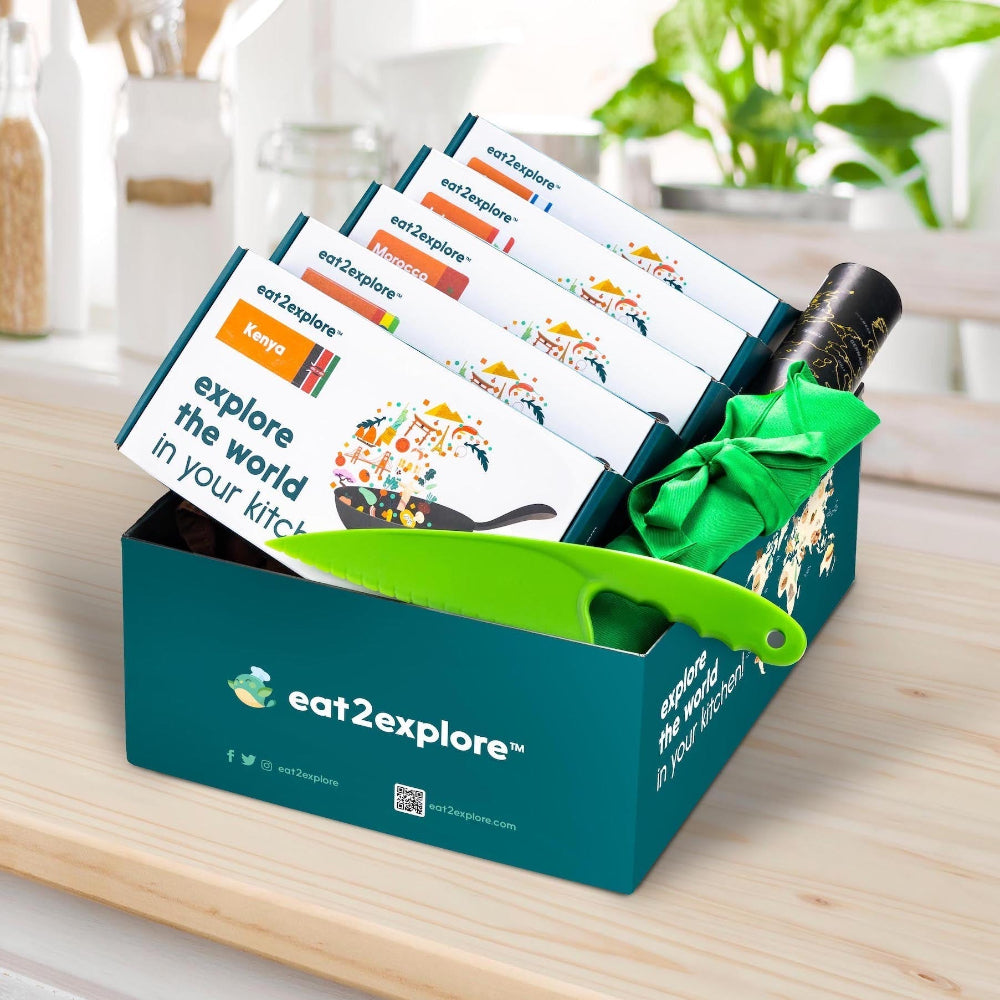
You'll find all kinds of surprises when you eat2explore!
Bonus Recipe
Piñata Cookies
Ingredients list:
- ½ cup butter, softened
- 1 cup sugar
- 2 eggs
- 1 teaspoon vanilla extract
- 3 cups flour
- 1 teaspoon baking powder
- ½ teaspoon salt
- food dye (if you want to add some color to your dough)
- frosting (for glue)
- mini candies or decorating candy like candy coated chocolates, sprinkles, stars, etc. Visit the baking aisle to mix and match the “fillings.”
This dough needs to chill. No “knead” to pre-heat the oven.
Instructions:
Let's Get Mixing
Grab an adult, a couple of mixing bowls, and a mixer.
Cream the butter and sugar in one of the bowls.
Add the eggs and vanilla extract. Mix well.
In your second bowl combine the flour, baking powder, and salt.
Add the flour mixture to the butter mixture and stir until it’s all combined.
Once that’s done, it’s time to add some color!
Separate the dough into 4 equal parts.
Add a couple drops of food coloring to a section and knead gently to incorporate the colors.
If you mix it a lot, the color will come out solid.
If you mix it a little bit, you’ll get a “marbled” kind of effect. (Your fingers are going to get colored, too! Wash your hands between colors to keep the colors separate. Or not. Have fun with it!)
Let's Get Rolling
Take a piece of colored dough and place it in the center of two sheets of parchment paper.
Roll it out until it’s about ¼ of an inch thick.
Repeat with the rest of the dough and then place all the slabs, paper and all, into the refrigerator to chill for at least an hour.
The dough has to be very cold before it goes in the oven. Why?
The reason you want the dough cold is so that the cookies don’t spread out too much when they’re baking! They’ll spread out a little bit, but they’ll also puff up.
Next, after the dough has chilled out, it’s time to cut out some shapes.

Let's Get Cutting
Working with one piece of dough at a time, remove one sheet of parchment and cut out an even number of your favorite shapes.
Place the cut-outs on a lined baking sheet.
Keep them about 1-2 inches apart.
Re-roll the scraps and cut out more cookies.
Let's Get Cooling
Place the baking sheet in with the cookies in the refrigerator to chill the dough again.
Let them rest and get chilly while the oven heats up to 350 degrees Fahrenheit. (For the rest of the dough pieces, once the oven is toasty let the dough chill for 10 minutes after cutting the shapes out before baking them.)
Let's Get Baking
Bake the cookies for 9-11 minutes.
Take them out of the oven and let them cool down for a few minutes.
Let's Make Piñatas!
Once the cookies are cool enough to handle safely, flip them over and carve out a little hollow in the centers of all the cookies. Don’t dig too deep!
Now take the candy bits and fill up the center of half of the cookies.
Using the frosting, put a line of frosting around the edge of one side of the cookie and fit the cookies together to seal in the candy bits.
Leave your piñata cookies to cool and let the frosting seal the cookie halves together. Ta-Da! You’ll have a tasty treat with a fun surprise!